Formatting Images in Word
Documentation
Microsoft Word gives you many options when formatting a document that includes images. This tutorial will give you an overview of those options.
- Once you have your picture on the document (Ctrl+V to paste it in), you can click and drag it around to the desired location.
- You can click on the picture or select it and then choose the position options in the "Home" tab to center, left align, or right align.
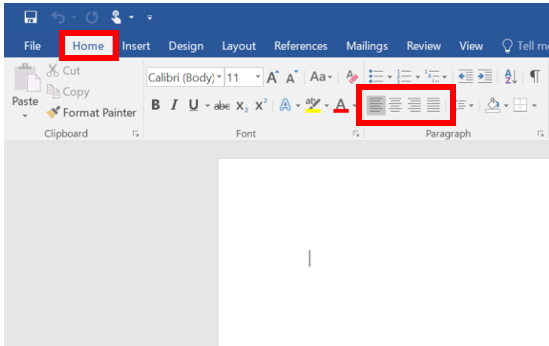
- You can click on the picture or select it and then choose the position options in the "Home" tab to center, left align, or right align.
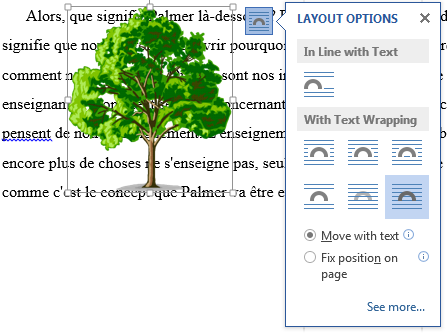
- Once your image is in the desired approximate location, you can select it to see multiple options for formatting the photo and wrapping the text.
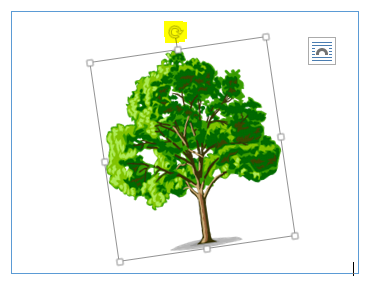
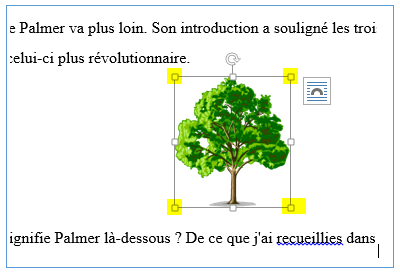
- You can change the angle of the picture by clicking on it and holding and dragging the curved arrow as shown.
- You can change the size of the image by clicking and dragging any of the boxes in the corners.
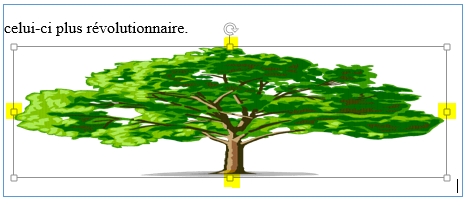
- Clicking and dragging on the boxes in the center around the picture, as shown below, will change the shape of the picture by stretching or compressing it.
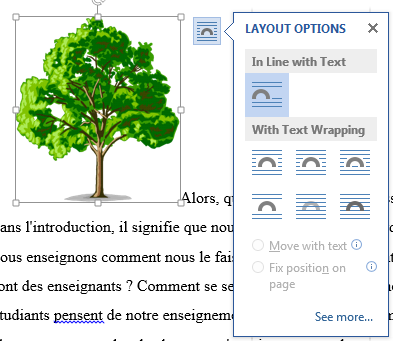
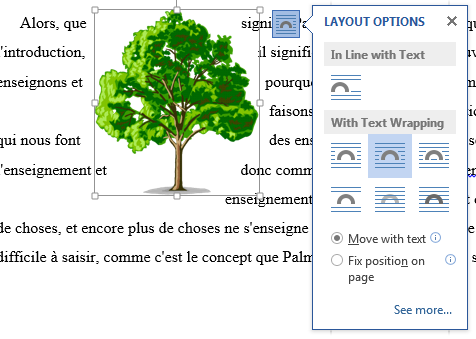
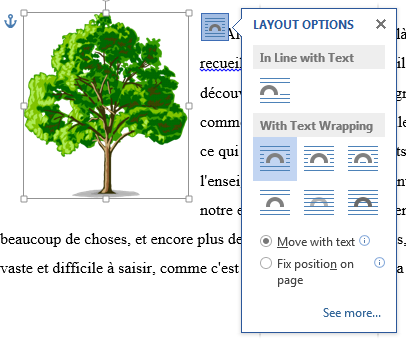
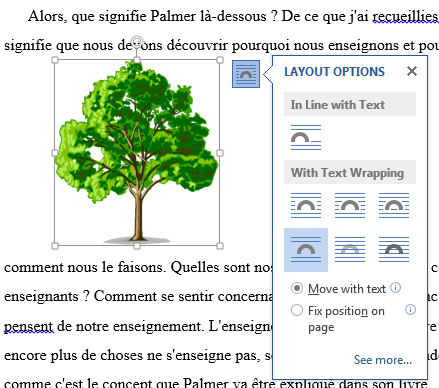
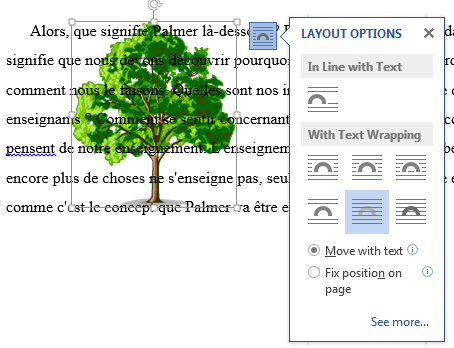
- Clicking the box that appears to the upper right of the picture you selected will give you many text wrapping options. You can see those options displayed below.
- You can change the angle of the picture by clicking on it and holding and dragging the curved arrow as shown.