Web Publishing: Background Information

Documentation

What is a Web site?

Before you can create and publish a Web site, it is helpful to learn what a Web site is and how the files in it relate to one another.

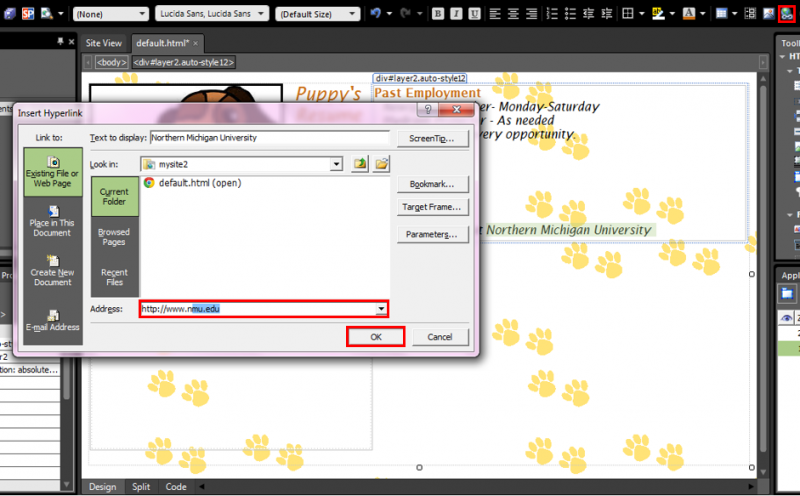
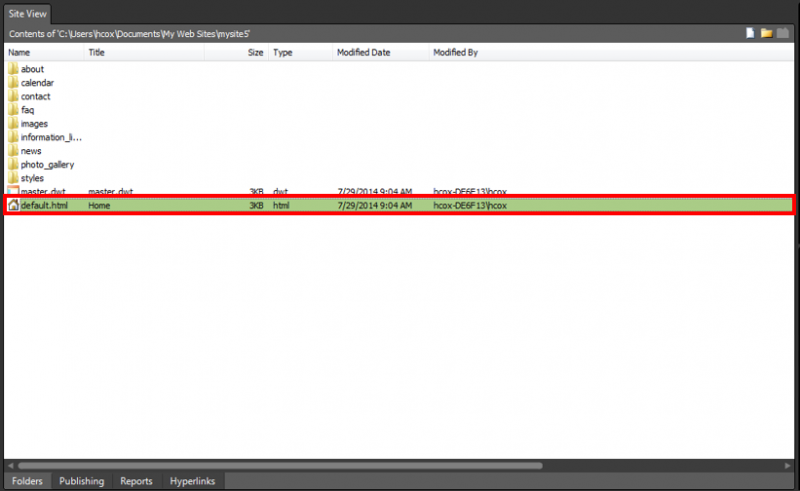
A "Web site" is a collection of files that are connected to each other by hyperlinks that allow you to jump from one page to another. These files are called HTML files, and each HTML file is a separate Web page. It is possible for a Web site to have only one HTML page, but most Web sites have several pages.

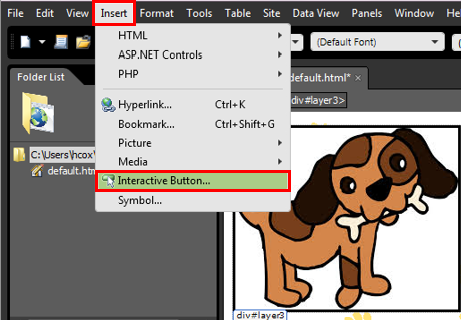
The images that appear on Web pages are separate files from the Web page (HTML) files themselves, but appear to viewers as part of the page.


Process overview of creating a Web site

There are three stages to creating a Web site:

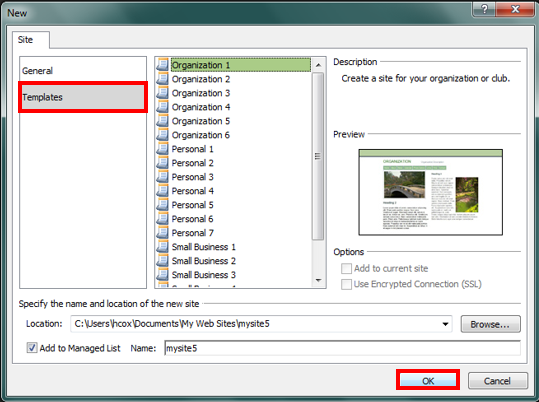
  1. Creating the site files locally (on your computer).

    The place where you create the files on your computer is often referred to as a "staging area." When the files are in the staging area on your computer, only you can see and change them.

  2. Copying the site files onto a Web server, such as myweb.nmu.edu or instruct.nmu.edu

    Once the files are on the Web server, other people can see them. However, you are still the only person who can change them.

    Putting the site files onto a Web server also backs them up, which means if anything happens to the copy on your computer you can restore it from the copy on the server.

  3. Revising your Web site by changing the files locally, then putting the changed files onto the Web server.

Microsoft Expression

Documentation

Microsoft Expression Web 4 is a free program for students through Microsoft Dreamspark. It is a web design software that does not require coding knowledge and is relatively easy to use. You can utilize this program to create web pages for use with your NMU MyWeb. This article will highlight some of the basic functions of Expression Web 4. Select a subject below or review the entire article for a general tutorial. 

We reccomend creating a new site using a template in order to create a more professional-looking page. 

More advanced training is available from Microsoft here
You might also consider taking one of NMU's web design courses through several academic departments. AD 234 is one such course. 

Uploading to MyWeb

​By default, Expression 4 saves the website and associated files into a subfolder within a "My Web Sites" folder in "My Documents." When you are finished, you will have to drag and drop these files into your pub folder if you want them to work for your MyWeb page. Click here for more information on uploading to MyWeb and setting up your pub folder. 

Creating a New Blank Site

  1. With Expression open, select "Site" in the top menu, and select "New Site." 

  2. Select "General" and "One Page Site," then select "OK."

  3. Double-click on "default.html".

  4. The blank site page will now be displayed in the center pane of the screen.

  5. In order to use your site with MyWeb, you must first change some settings. Select the "Site" tab and select "Site Settings."

  6. In the "Site Settings" window, select the "Preview" tab and uncheck "Use Microsoft Expression Development Server." Select "Apply" then "OK."

  7. To change the background color or to make the background a picture or pattern, select "Format" and choose "Background..."

  8. In the "Formatting" tab of the "Page Properties" window, you can select "Background picture" and "Browse" to select for a picture, or you can choose a color from the drop-down menu.
  9. Select "OK" to finish. 

  10. Now you will see your background on the site in the center tab. 

  11. To add a layer in order to enter text or pictures, select the "Draw layer" button in the right layer pane. Click on your webpage and drag to create a layer.

    • Clicking on your layer will reveal small squares that can be used to drag and change the size of your layer. You can move your layer by selecting the edge of it and dragging. 

  12. To insert a picture, click on the "Insert" menu option, hover over "Picture" and select "From File..." to browse for your picture.
  13. Select your picture in the picture browse window and select "Open."

  14. A window titled "Accessibility Properties" will appear. You may enter alternate text or descriptions. Select "OK" to close it. 

  15. You can now resize your picture by dragging at the white squares once it is selected. Move the picture by moving the layer it is in or by clicking the edge of the picture and dragging. 

  16. You can change the alignment, size, or border picture or an image by right-clicking it and dragging it selecting "Picture Properties." Change the settings to your liking and select "OK" to confirm.

  17. You can enter text in a blank layer or in a layer next to a picture by clicking in the layer or next to the picture and typing. There are options for text alignment and color, among others, near the top right of Expression.

  18. To insert a link, highlight the text to link with and select the link icon in the upper right corner. Enter the URL in the "Address" field and select "OK."

  19. To insert a clickable button in a layer, divider, or elsewhere, select the location to insert and click the "Insert" menu option in the top right of Expression. Select "Interactive Button..." from the drop-down menu. 

  20. Select the button you would like from the "Buttons:" list, enter the text to display in the "Text:" field, and enter the URL to link to in the "Link:" field. Select "OK."
  21. To save, select the blue floppy disk button in the top left of Expression. Browse to a save location and select "OK". If prompted to save inserted buttons and pictures, select "OK." 

  22. To preview your website as you work on it, select the "File" menu option, hover over "Preview in Browser," and select a broweser to preview in. The browser will open and display the page. 

Creating a New Site Using a Template

  1. With Expression Web 4 open, select the "Site" menu option and select "New Site"

  2. Select "Templates" and choose a template (a preview is shown to the right) and select "OK."

  3. Select "default.html" from the center pane to open and edit the template. 

  4. Click in text boxes and headings to enter new text. 

  5. To change a picture to another picture, right click and select "Picture Propterties..."

    • Click "Browse" to select a picture, and select "Open" then "OK" to insert it. 
  6. To change an image's size, right click the image and select "Picture Properties."

    • Select the "Appearance" tab in the "Picture Properties" window. Here you can change the size, allignment, and border properties. Select "OK" to apply. 

Account Lockout Types

Documentation

NMU users can be locked out of their NMU account (MyUser, MyNMU, Webmail, etc.) for various reasons, as listed below. Some of these lockouts can be fixed by the user, but many of the account lockout types will need the assistance of the Helpdesk to unlock. While locked out, a user will be unable to access most account services and will not have network access.

  1. Copyright Violation - When a user is caught illegally downloading music, games, movies, or anything else defined as illegal in the Acceptable Use Policy, this type of lockout can occur. NMU will contact the user's email address, and then the user will have to come to the Helpdesk after his or her second offense to have a full-time staff member unlock the account. The user will also need to sign a waiver for the copyright violation. You can review the copyright violation system here
  2. Password Recovery - If a user has forgotten his or her password and was unable to answer their challenge question through the password recovery system, the account will be locked and the user will need to come to the Helpdesk with photo identification. 
  3. Virus Lockout - If a user has a device registered to his or her account that is infected with a virus, the user will be deregistered and will have to come to the Helpdesk for virus scans and to get the account unlocked. 
  4. Spam/Compromised Account Lockout - If a user's account is locked due to spam, or identified in other ways as a compromised account , the user's account will be locked and unable to access email and other account services. The user should be able to log into MyUser to change his or her password and unlock the account. If not, the user will have to visit the Helpdesk to have the account unlocked. 
Subscribe to MyWeb