Photo Editing in Word

Documentation

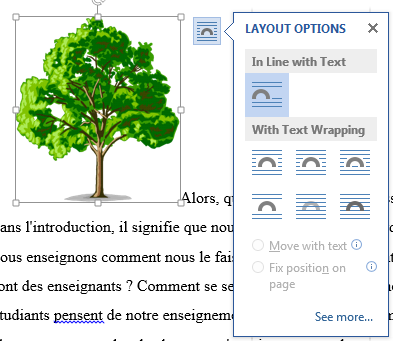
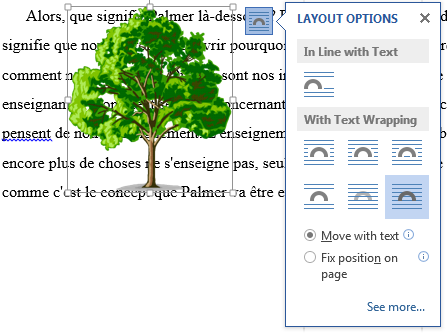
Microsoft Office has enhanced photo editing features to help when adding pictures in your documents.  You can adjust the picture brightness or contrast, remove the background, use artist affects, add a border, rotate, crop or resize a picture. A preview of most of these features can be seen by hovering over the menu choice before you actually click on the menu choice.


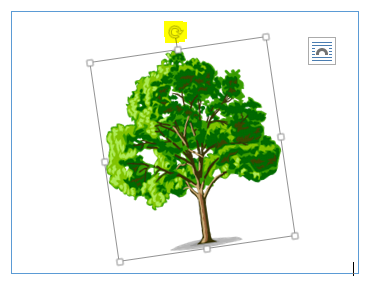
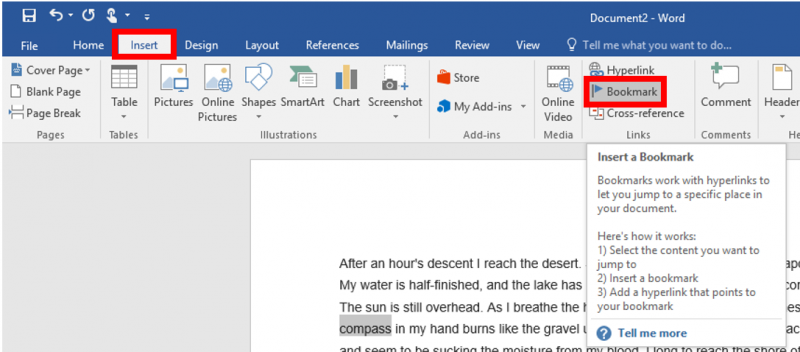
1. Double-click on the image you have inserted into the Word document

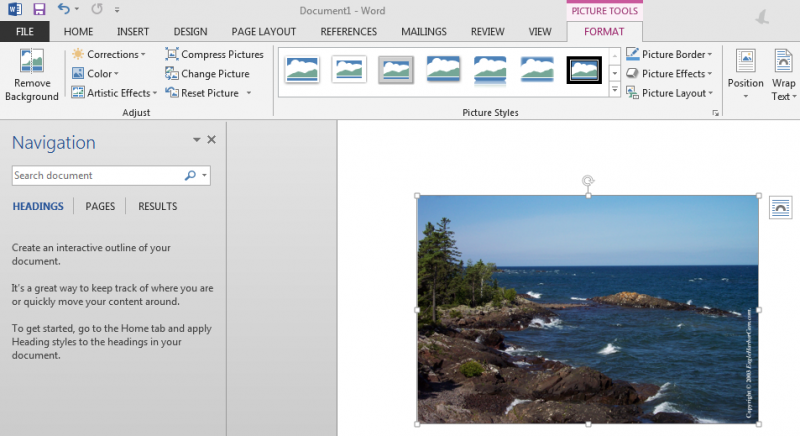
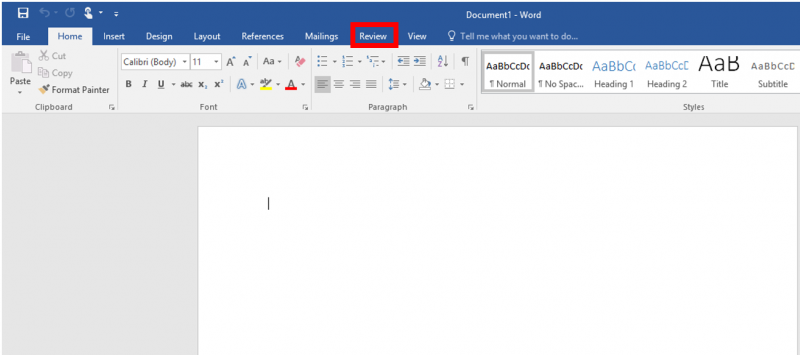
2. Use the tools on the "Format" ribbon menu to make the alterations you desire

-The "Format" ribbon menu may look different depending on how large your Microsoft Word window is. All options are presented at all sizes, however some may be hidden in drop-down menu. 

3. If you have made alterations that you do not like and want to reset the image, a simple way to do so it to use the "Reset Picture" option in the "Format" ribbon menu.

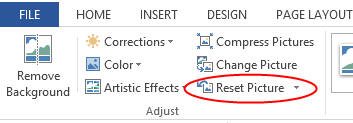
4. Explore the different options/effects and have fun making your document look good! 

- Many changes can be previewed by simply hovering the mouse cursor over an option
- Not every type of editing option is available in Microsoft Word
- More advanced photo editing is best left to software designed for photo editing like Adobe Photoshop, GNU GIMP, Paint.NET, etc.

Saving and Exporting a Word document as a PDF file

Documentation

With Microsoft Office, you are able to save and export regular word documents as PDF files. 


1. With the document that you want to export/save as a PDF open, select "File" from the ribbon in the top left corner

2. Select "Export" option that appears along the left-hand side

3. Then select "Create PDF/XPS Document" in the center of the screen

4. Choose a folder to export the PDF 
5. Type a name for the document and select "Publish"


Now you can navigate to the folder where you saved the PDF document will open as a PDF file, instead of a regular Word document. 

Outline Tools in Word

Documentation

There are many Outline tools provided in Word. This article will cover a few of them. Though these screenshots are in 2016, they should be similar or identical to the steps in earlier versions.  
 

1. To create a new outline, click the "Home" tab, and then click on the arrow next to "Multilevel List" under the "Paragraph" section. 


2. From the drop down menu, select any of the layouts from the List Library (hovering over the examples will show a preview).


3. After selecting the appropriate list, you can start typing. Push enter when you wish to start a new line. 

4. If you want to create a new sublist, press the "Tab" key after you enter a new line, or click the "Increase Indent" button. 


5. Once tabbed in on a new bullet point, you can press "Enter" twice or click the "Decrease Indent" button to return to the previous level.

Online Videos in Word

Documentation

You can embed a video from online into a Word document, either with the embed code or by seariching online, making the video visible within the Word document. This article details that process. 

Insert a video with the embed code

  1. Click on the "Insert" Tab on the ribbon menu (at the top left of word).
  2. In the center of the ribbon menu, under the "Media" category, choose "Online Video" Online Video Icon.
  3. This will open up a window to the right like the one below. 

    Insert Video Page

  4. Pasting the video embed code in the "Paste embed code here" field and pressing the arrow to the right of the code will put the video in the document.
  5. ​You can use the points around the video to resize it, the arrow to rotate it, or the box in the upper right to choose how the text surrounds the video.

    Paste Embed Code

  6. Clicking on the play arrow on the video will expand the video on the screen and play it. 

    Video Embeded

Search the web for a video to embed

  1. Use the "Bing Video Search" box (or log into Microsoft for other searches) to directly search for a video to embed. 

    Bing Video Search

  2. Search for the desired video, select it, and select "Insert" to put it on the document. 
  3. Clicking on the video will allow you to expand and watch it within the document.

    Embedded Video

  4. You can use the points around the video to resize it, the arrow to rotate it, or the box in the upper right to choose how the text surrounds the video.
  5. Clicking on the play arrow on the video will expand the video in the screen and play it. 

Inking Feature in Office

Documentation

In Office 2013 and 2016, you can use the Inking tool to draw on Word documents, Excel spreadsheets, and more. This is especially useful with a pen in tablet mode or however you want to use it. To learn more about the Inking tool, visit Microsoft Office's webpage. 


1. Open the Office tool you'd like to use and click the "Insert" tab. 
    

2. Click the "Start Inking" button in the upper right to begin Inking. 
    

How to set Track Changes in Microsoft Word

Documentation

Track Changes is a built in feature in Microsoft Word which allows you to see the changes that were made to the document.
To view changes, or to edit a document with them, follow the instructions below. To learn how to use the comment feature, click here.
 

1. In Word, press the “Review” tab and select “Track Changes” to highlight it and turn it on.
    

2. Begin typing anywhere in the document, making changes, deleting items, or adding parts. Word will track changes to text and formatting. 
 

3. To display comments changes, click the red line to the left of the document. The changes will appear in red. Click again on the line (now grey) to hide the comments.            


4. To keep changes, make sure you save the document. Saving under a different name than the original will help eliminate confusion.

Formatting Word Mail Merge Values in Excel

Documentation

Occasionally some numbers in Excel don't format correctly in Word when using the mail merge feature under the Mailings tab. Follow these steps to resolve this issue before your merge. 


1. First, make sure your ZIP or postal codes don't lose any zeros in the mail merge process by formatting them in your Excel file as text. 
    
2. In Word, click the "File Tab" then click "Options." 
    

3. Choose "Advanced" from the left pane and select "Confirm file format conversion on open." Click "OK." 
    

4. In the mail merge document, click the "Mailings" tab, "Select Recipients," then "Use an Existing List." 
    

5.  Browse to your spreadsheet and double-click it. 

6. Click the "Show all" button in the "Confirm Data Source" window, select "MS Excel Woorkseets via DDE (*xls)" and select "OK." 
    

7. Click "Entire Spreadsheet" then click "OK." 
    

8. Now you can continue with your mail merge

Formatting Images in Word

Documentation

Microsoft Word gives you many options when formatting a document that includes images. This tutorial will give you an overview of those options. 

  1. Once you have your picture on the document (Ctrl+V to paste it in), you can click and drag it around to the desired location.
    • You can click on the picture or select it and then choose the position options in the "Home" tab to center, left align, or right align. 

  2. Once your image is in the desired approximate location, you can select it to see multiple options for formatting the photo and wrapping the text.
    • You can change the angle of the picture by clicking on it and holding and dragging the curved arrow as shown.

      Rotated image

    • You can change the size of the image by clicking and dragging any of the boxes in the corners. 

      Image sizing

    • Clicking and dragging on the boxes in the center around the picture, as shown below, will change the shape of the picture by stretching or compressing it. 

    • Clicking the box that appears to the upper right of the picture you selected will give you many text wrapping options. You can see those options displayed below. 


Bookmark Feature in Microsoft Word

Documentation

You can add bookmarks to a document so you can easily find or link to a location. This tutorial uses the Office 2016 version, but can easily be transferrable to Office 2013 and 2010 versions. 

1. Select or highlight a location, picture, or text in your document. 
  
2. In the "Insert" tab on the ribbon menu, within the "Links" group select "Bookmark."


3. Type a name for your bookmark and click "Add." 


4. To create a link to the bookmark (such as in a list or table of contents at the top of the document), highlight the text you'd like it to link from and "Hyperlink" from the "Insert" tab.


5. Select "Place in This Document" from the left pane, expand "Bookmarks" to select the desired bookmark to link, and click "OK." 


Subscribe to word