Documentation
The Lenovo System Update tool installs unique updates to your ThinkPad computer that are not included in the Microsoft updates. We recommend you routinely run System Update on a monthly basis and install the critical, recommended, and optional updates to keep your computer software up to date.
This page has been split into 2 sections. The first section covers installing the updates related to problems with audio, video and using projectors and takes about 20 minutes to complete. The second section covers installing the full set of recommended updates and takes about an hour to complete. You can do the first section and complete the second section at some later date if you would like.
Section 1 Updates that Resolve Audio, Video, and Projector Problems
WARNING: Lenovo System Updates can contain firmware updates. It is critical that firmware updates are not interrupted. Therefore, we recommend you preform the System Updates with the computer connected to AC power and a fast Internet connection (either NMU WiFi or NMU Ethernet) at a time and place where the update will not be interrupted. If this is something you do not feel comfortable doing yourself, please visit the HelpDesk and get a request to have Micro Repair perform the updates. You should back up your files prior to coming in and Micro Repair currently anticipates a 2 hour turnaround time to have your computer ready.
1. Close all other programs and applications.
2. Connect to AC Power.
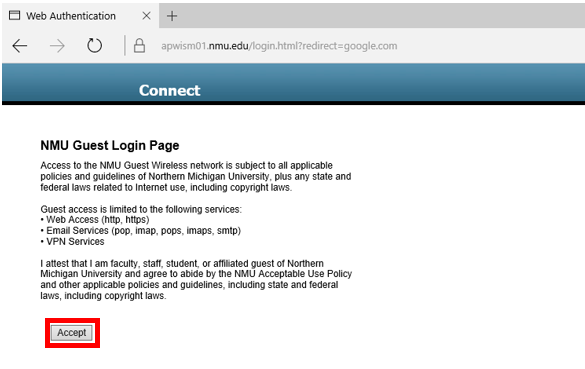
3. Connect to a fast Internet connection (either NMU WiFi or NMU Ethernet).
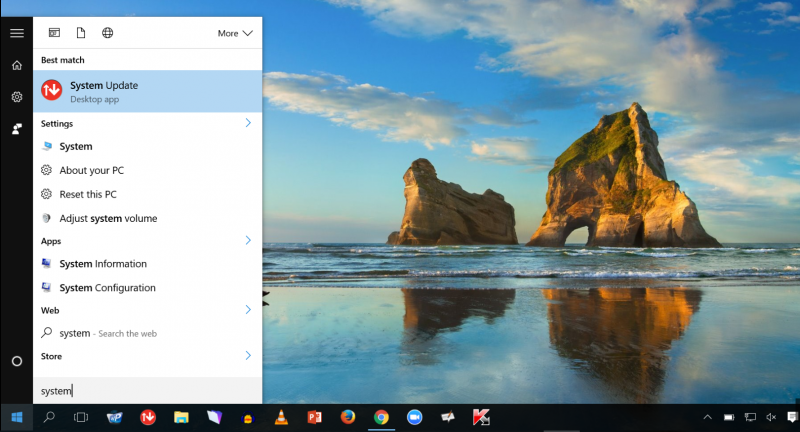
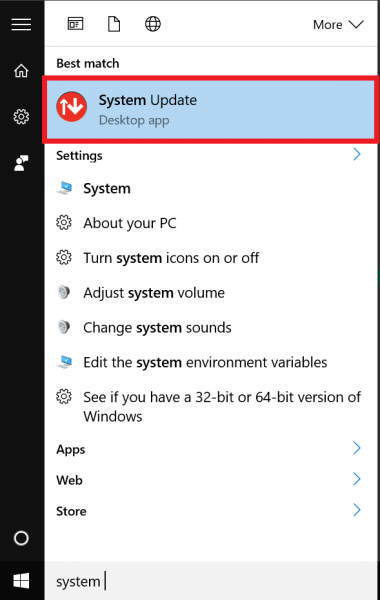
4. Run Lenovo's "System Update". To do this, click on the Windows icon found at the bottom left corner of the desktop on the task bar. Type "system update" and choose it from the list of choices.
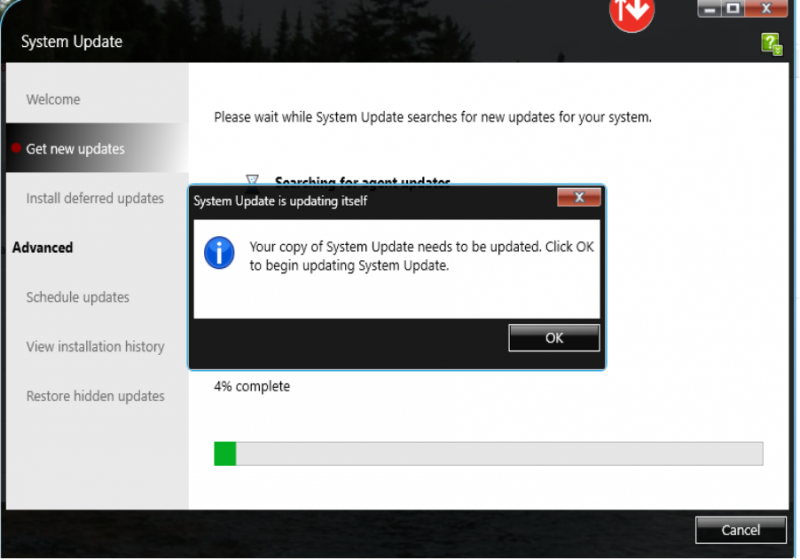
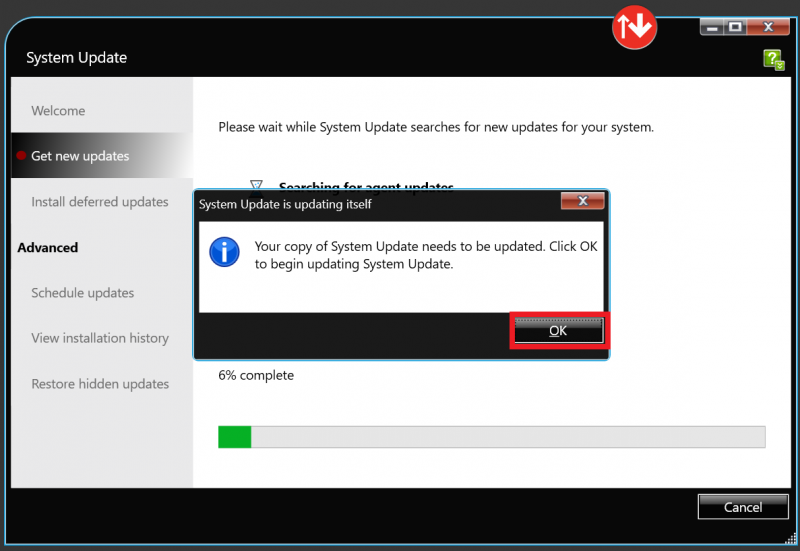
5. If this is your first time running System Update, it will need to update itself.
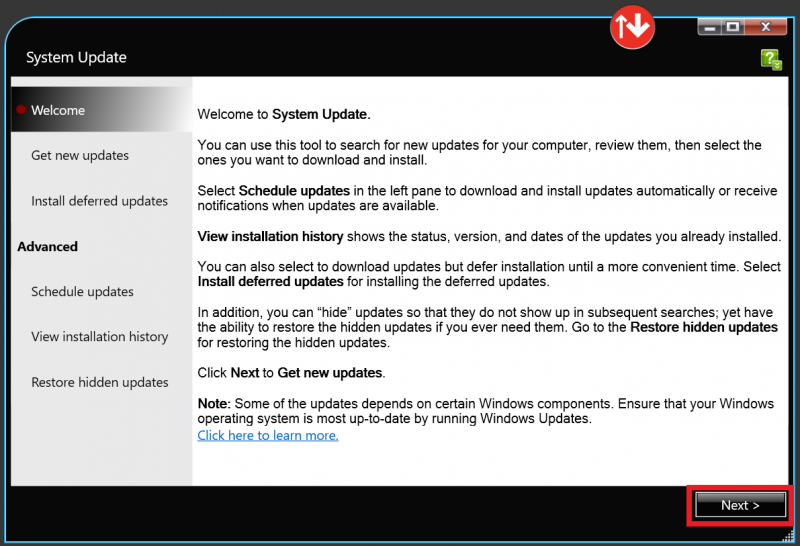
6. Once you are at the System Update home screen, it will look like this...
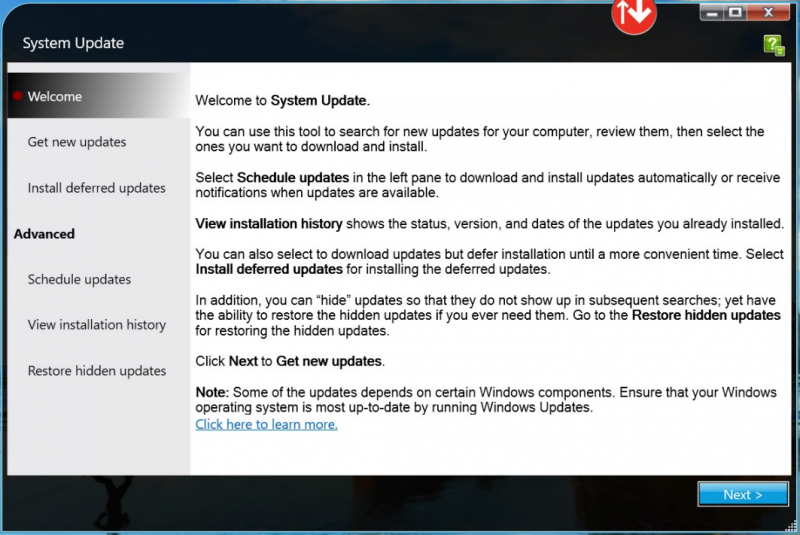
7. Click "Next" and System Updates will prepare all available updates for you to choose from.
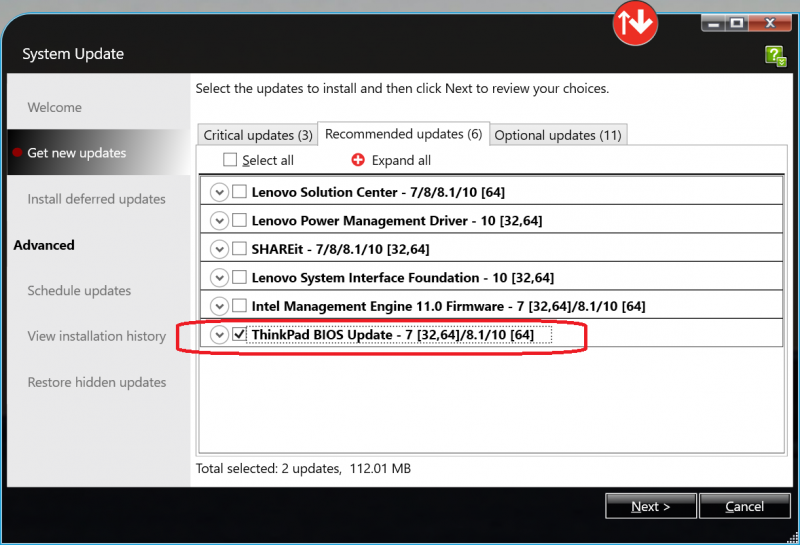
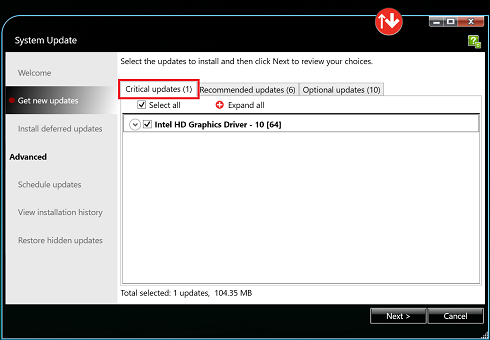
8. Once you are able to perform updates, make sure the first update you choose is JUST to update “BIOS” under "Critical Updates" or "Recommended Updates". You will be prompted to reboot your laptop.
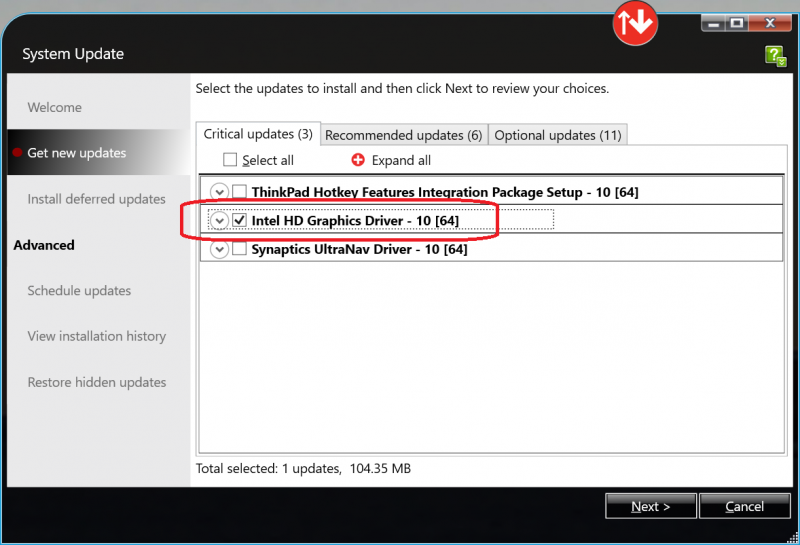
9. The second update you should choose should JUST be “Intel HD Graphics Driver” under "Critical Updates". You will be prompted to reboot your laptop.
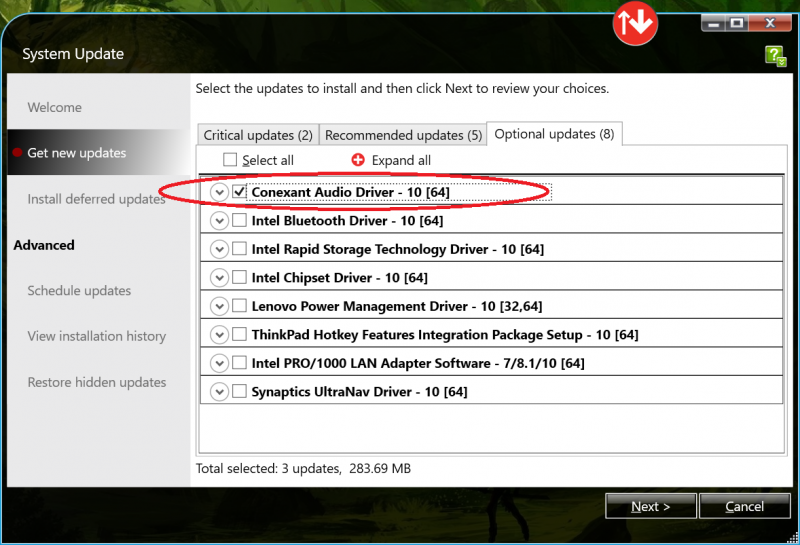
10. The third and final update you should choose should JUST be “Conexant Audio Driver” under "Optional Updates". You will be prompted to reboot your laptop.
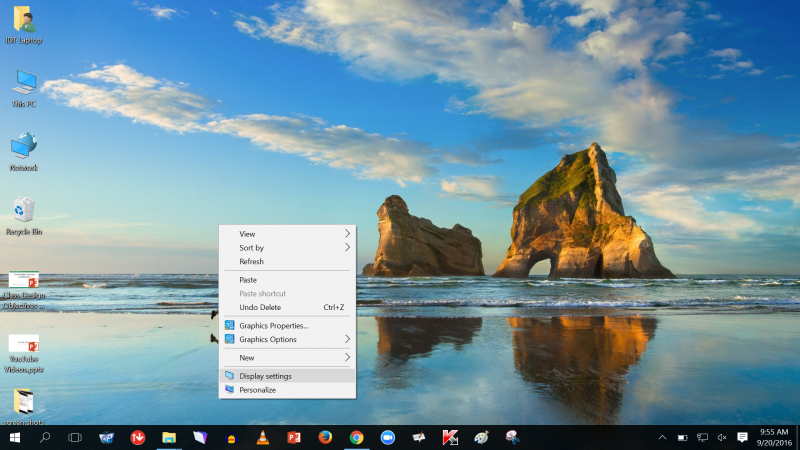
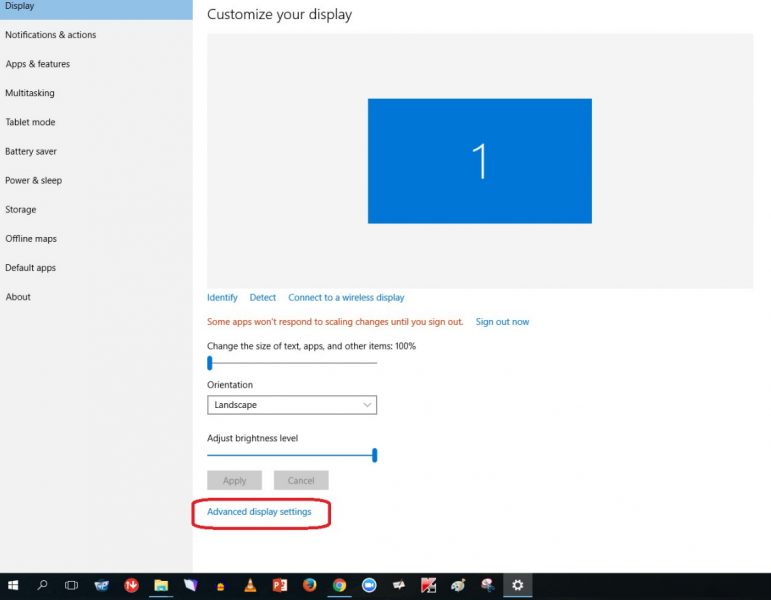
11. While connected to projector in classroom via the 15 pin VGA cable, right click on desktop and choose display settings.
12. You will be brought to a screen where you choose "Advanced Settings".
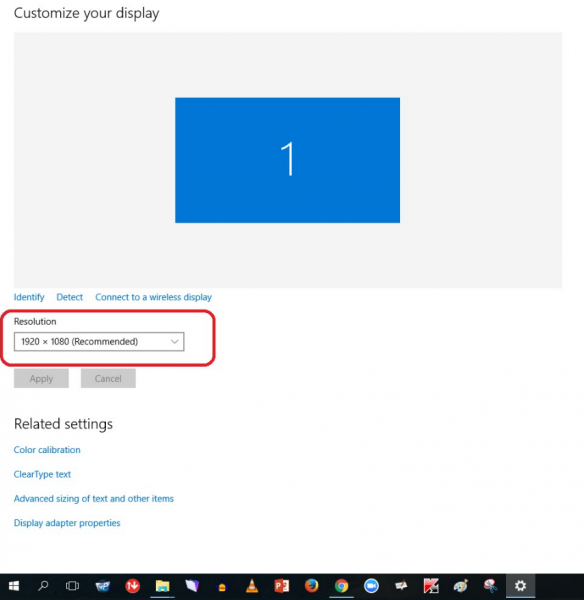
13. Then click on the recommended resolution...
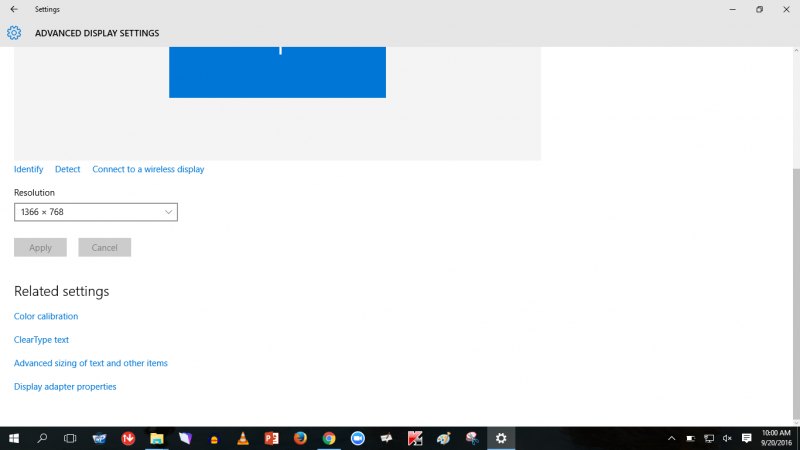
14. Reduce it to "1366x768"
Section 2 All Recommended Updates
The Lenovo System Updates also address network connectivity issues first identified on the T460s ThinkPads in August of 2016 and are recommended for the T460s with the fall 2016 NMU software image. For the T460s ThinkPads as of August 2016 these updates take approximately 1 hour to complete.
WARNING: Lenovo System Updates can contain firmware updates. It is critical that firmware updates are not interrupted. Therefore, we recommend you preform the System Updates with the computer connected to AC power and a fast Internet connection (either NMU WiFi or NMU Ethernet) at a time and place where the update will not be interrupted. If this is something you do not feel comfortable doing yourself, please visit the HelpDesk and get a request to have Micro Repair perform the updates. You should back up your files prior to coming in and Micro Repair currently anticipates a 2 hour turnaround time to have your computer ready.
1. Close all other programs and applications.
2. Connect to AC Power.
3. Connect to a fast Internet connection (either NMU WiFi or NMU Ethernet).
4. Go to the “Start” menu and type “system update” and select “System Update” from the list of results. The program will start.
5. The program will start and provide a System Update Welcome screen. Click “Next”.
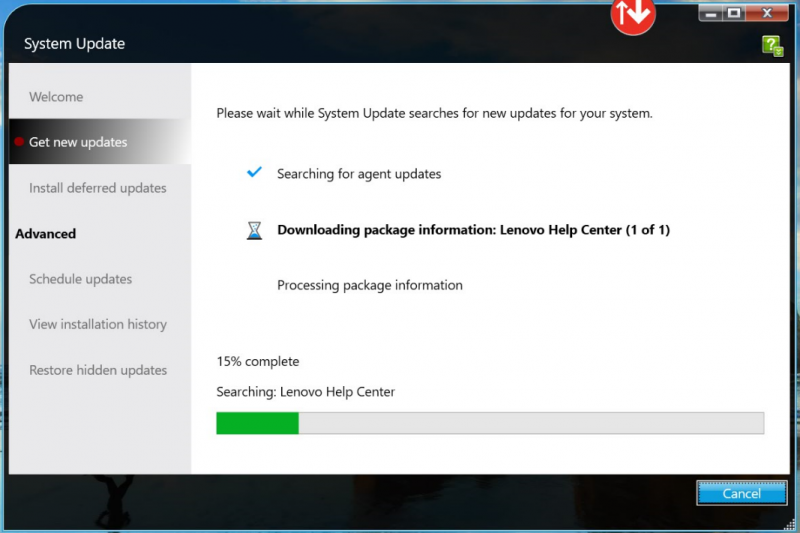
6. The program will search for and download available updates.

7. If prompted to update the System Update tool click “OK”.
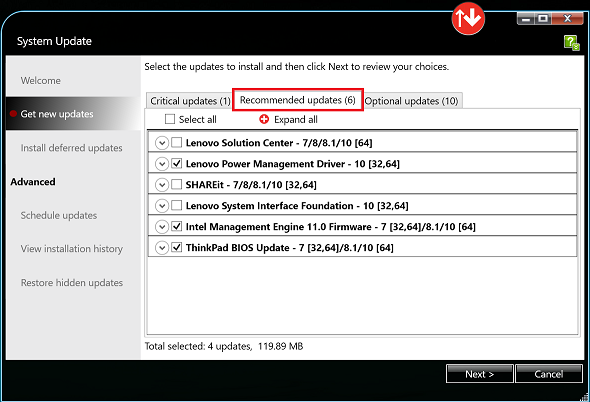
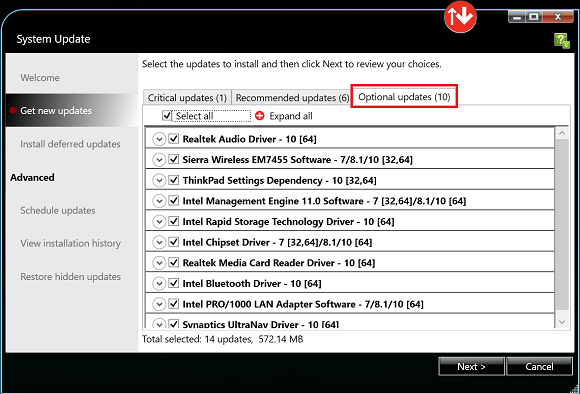
8. Lists of available critical, recommended, and optional updates will be displayed in 3 tabs. On the "Critical" and "Optional" tabs, check the “Select All” checkbox to select all the updates. On the "Recommended" tab, select the individual updates excluding "Lenovo Solution Center", "SHAREit", and "Lenovo System Interface Foundation." Click “Next” to begin the update process.
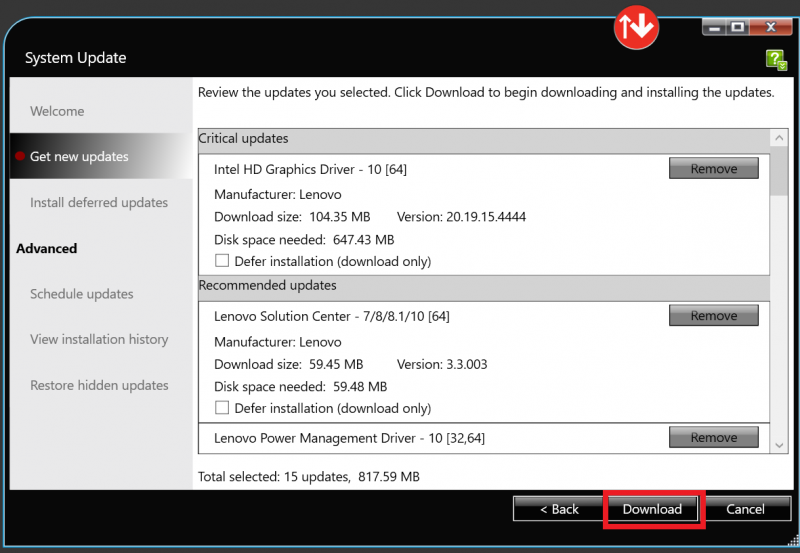
9. You may be prompted to download the updates, Click “Download.”
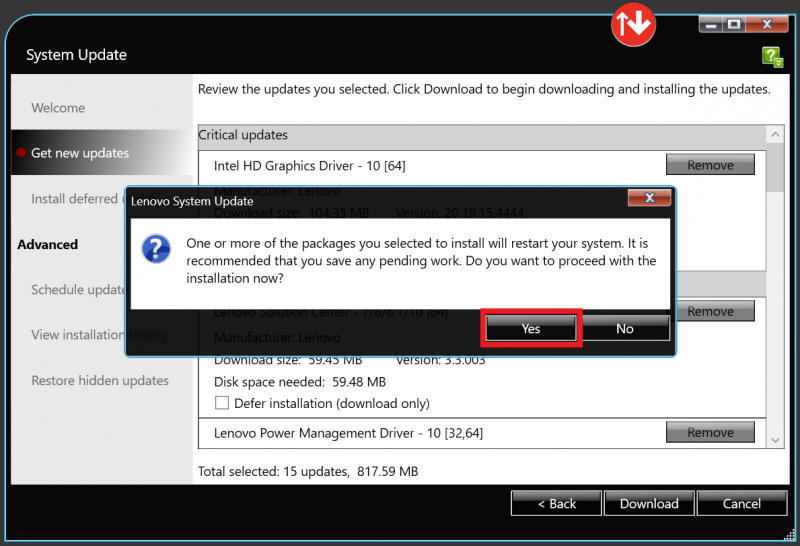
10. You may be prompted to restart your computer, click “Yes”
.
11. The updates will begin downloading.

12. Wait about an hour and expect at least one restart to complete the process.
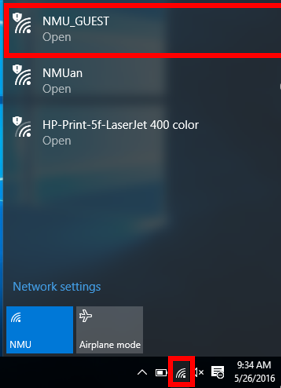
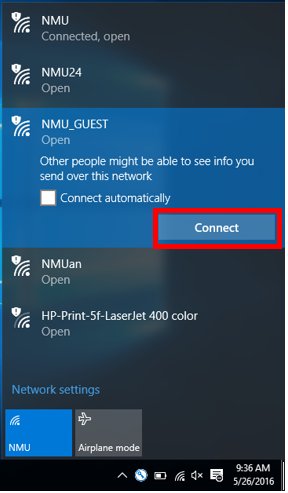
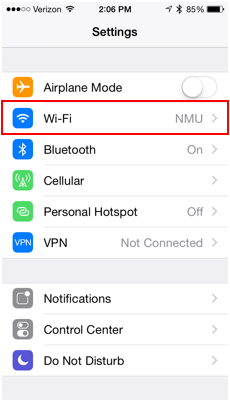
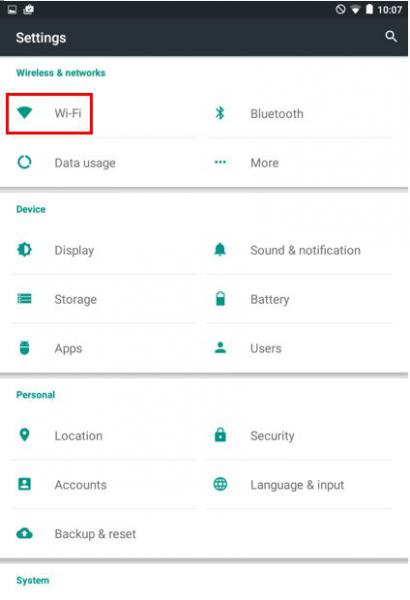
 and select "Wi-Fi".